A Dropbox API access token directly corresponds to a particular Dropbox folder that you would like to automatically save data to. This tutorial will guide you through the steps of creating your own Dropbox API access token so that you can link it to the Crypto Asset Manager for use with automatic wallet backups.
Before we begin, this guide assumes that you have already created a Dropbox account. If not, you should create one first by visiting https://dropbox.com/register.
-
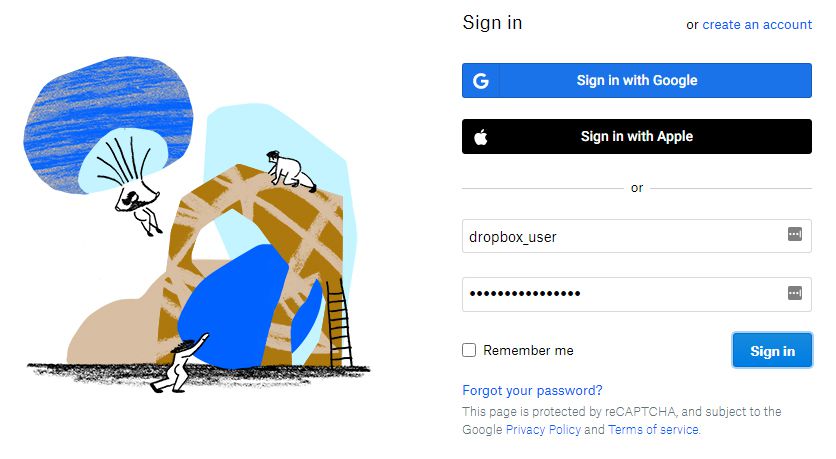
To generate a Dropbox API access token we must first create a “Dropbox App”. To do this, open a web browser to https://dropbox.com/developers/apps/create. Log in using your Dropbox credentials if you aren’t already signed in.
-
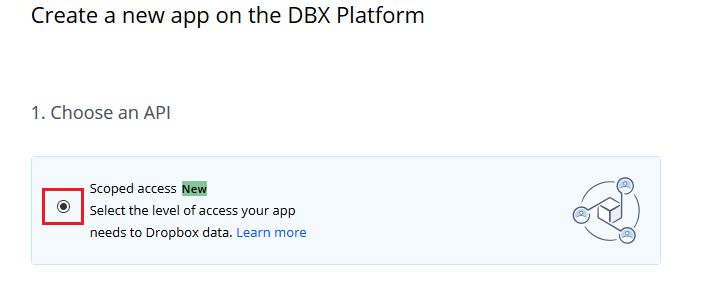
Under the 1. Choose an API heading, click the option for Scoped access.
-
Under the 2. Choose the type of access you need heading, click the option for App folder.
NOTE: The Crypto Asset Manager also works with the Full Dropbox option, although it can be slightly more difficult to work with since when saving files you must additionally specify the exact path to where the files are saved within your Dropbox account. Therefore, it is recommended to select the App folder option for ease-of-use.

-
You must also give your Dropbox App a name. It can be named anything you want. When finished, click the Create app button to continue to the next screen.

-
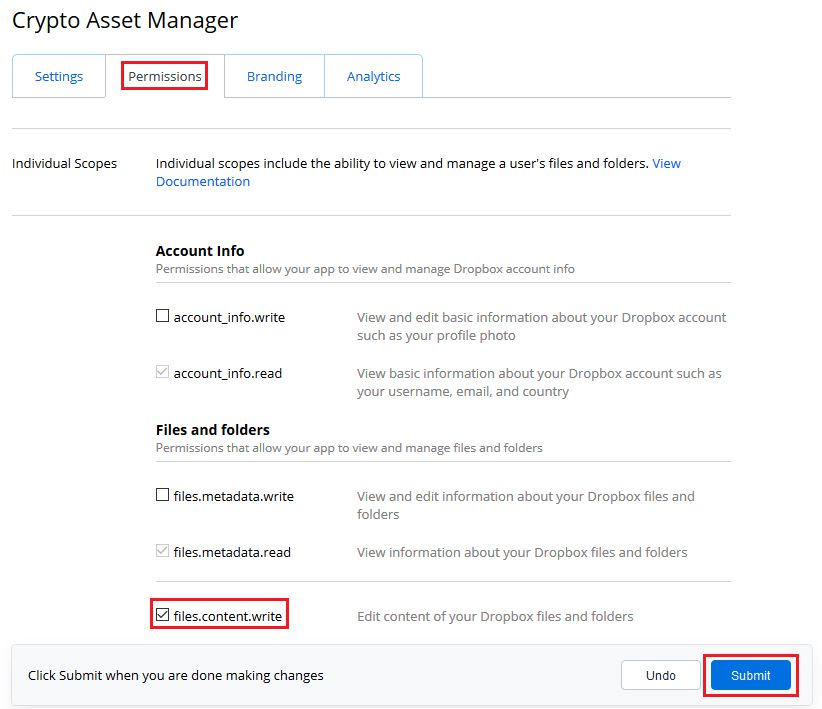
The next screen displays a lot of options on a few different tabs. Click to the Permissions tab and put a check next to the files.content.write permission, and then click the Submit button to save the changes.
-
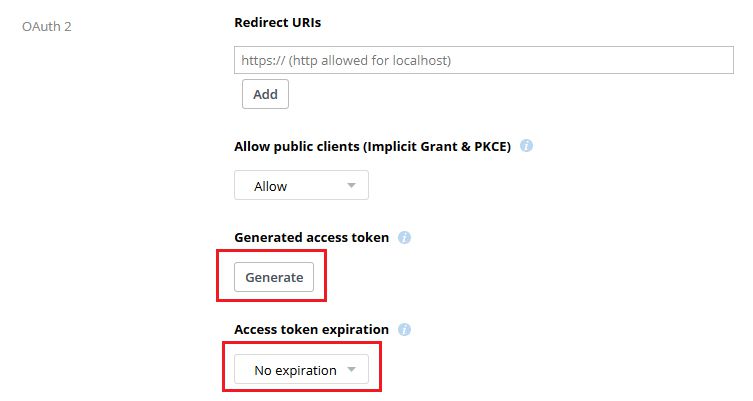
Click back onto the Settings tab and scroll down to the OAuth 2 section.
Change the Access token expiration value to No expiration, and then click the Generate button above that under the Generated access token heading.
NOTE: Once you have generated an API access token, the settings you have chosen are effectively “burned” into the access token, and if you make changes to permissions or anything else afterwards, you must re-generate a new API access token because the changed settings will not be available on the old access token.

-
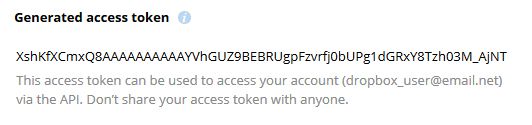
If everything went well, the page will refresh and present you with your Dropbox API access token. At this point you are done with the Dropbox set up. Copy the access token value and you can now use it to automatically backup to the cloud.
-
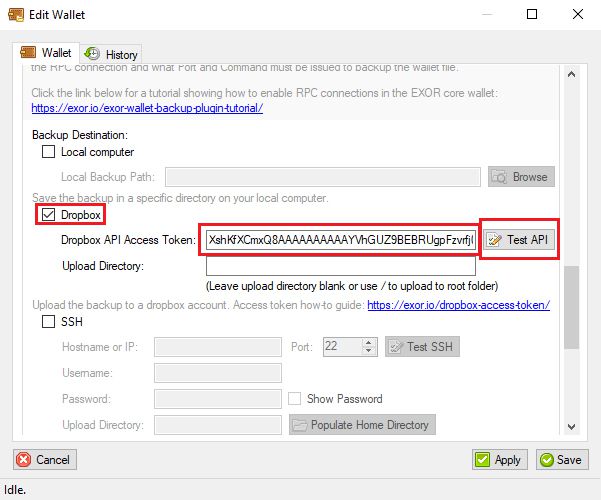
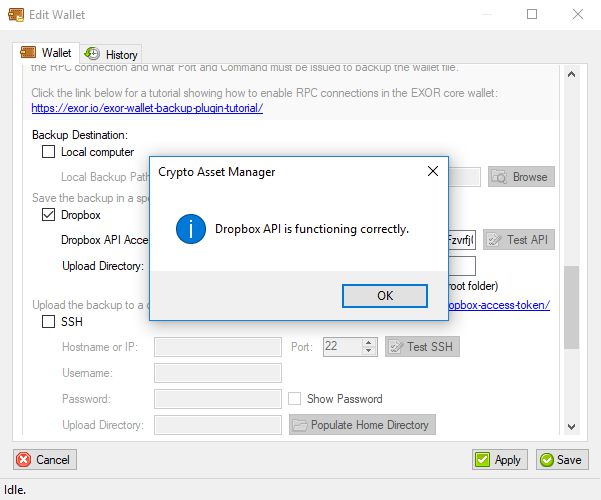
One last optional step is to test your Dropbox API access token from within the Crypto Asset Manager’s Wallet Backup plugin. Open the Crypto Asset Manager, click the Wallet Backup option, click Add Wallet, scroll down and click the Dropbox checkbox, enter your Dropbox API access token into the appropriate box and finally, click the Test API button. If you see the msg Dropbox API is functioning correctly, then you can be 100% sure that everything is set up properly. If instead you receive any error msgs, they will usually give you a hint as to what went wrong, and you can follow this guide again to create a new access token as necessary.