This sample guide will show you step-by-step how you can enable RPC connections in the EXOR core wallet and configure the Crypto Asset Manager to automatically generate a wallet backup and/or a private key dump.
NOTE: If you have already previously downloaded and installed the EXOR core wallet, you can skip to step #7
-
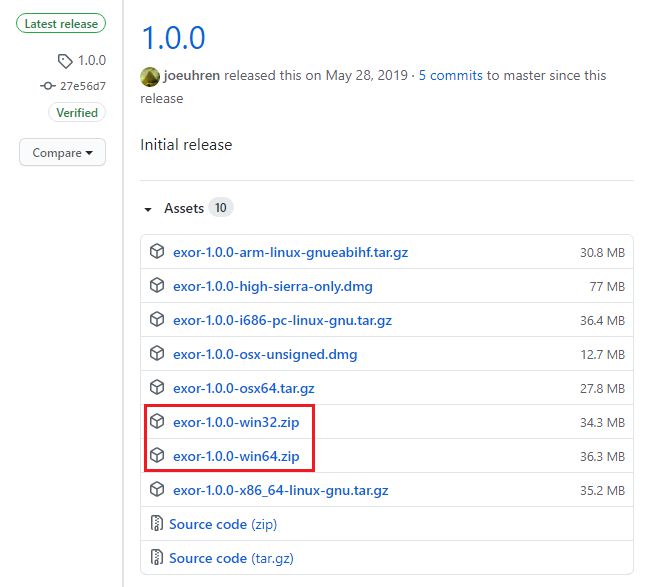
Browse to https://github.com/team-exor/exor/releases and download the wallet for your operating system:NOTE: The Crypto Asset Manager only supports the Windows operating system at this time.Direct Downloads:Win64: exor-1.0.0-win64.zipWin32: exor-1.0.0-win32.zip
-
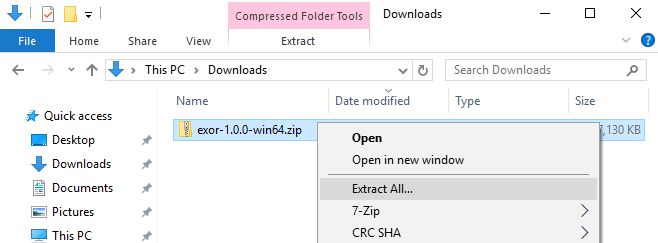
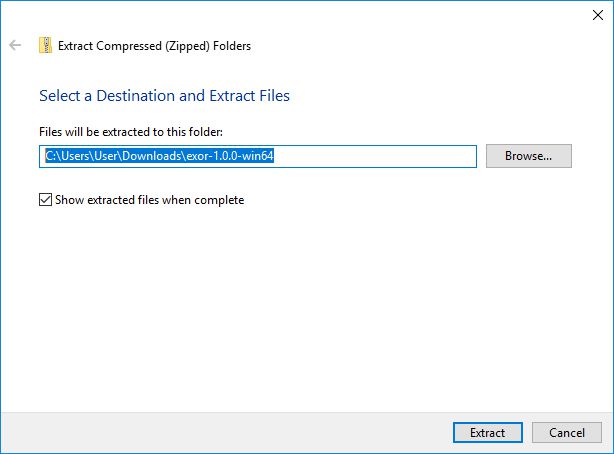
Find the file that you downloaded and extract the files within the archive. You can do this by right-clicking the file, choosing the Extract All… option, choose a destination to extract the files and click the Extract button.
-
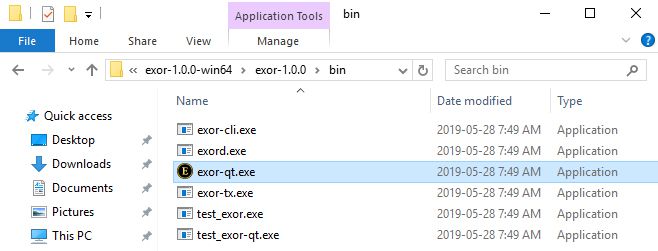
Now that the files are extracted you can open to the exor-1.0.0\bin directory and double-click the exor-qt.exe file.
NOTE: You can alternatively choose to run the exord.exe daemon wallet, although this is a more advanced option that is not covered in detail in this guide.
-
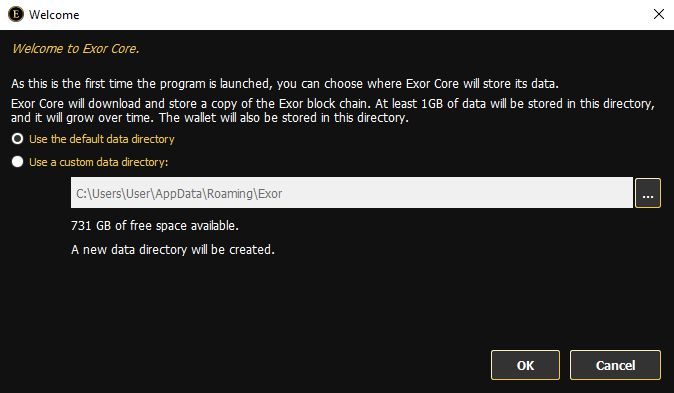
If this is the first time you are running the EXOR core wallet, you will be presented with a welcome screen which allows you to choose where to save the blockchain files. Most users can just keep the default selection of use the default data directory and click the OK button to continue
NOTE: If you choose a custom data directory, you will need to remember which directory you chose to complete this guide.
-
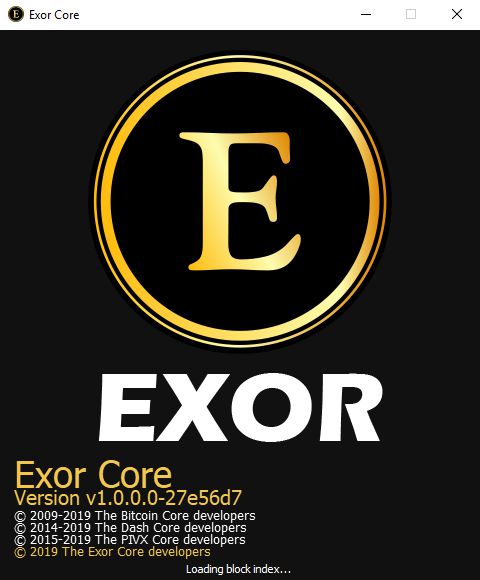
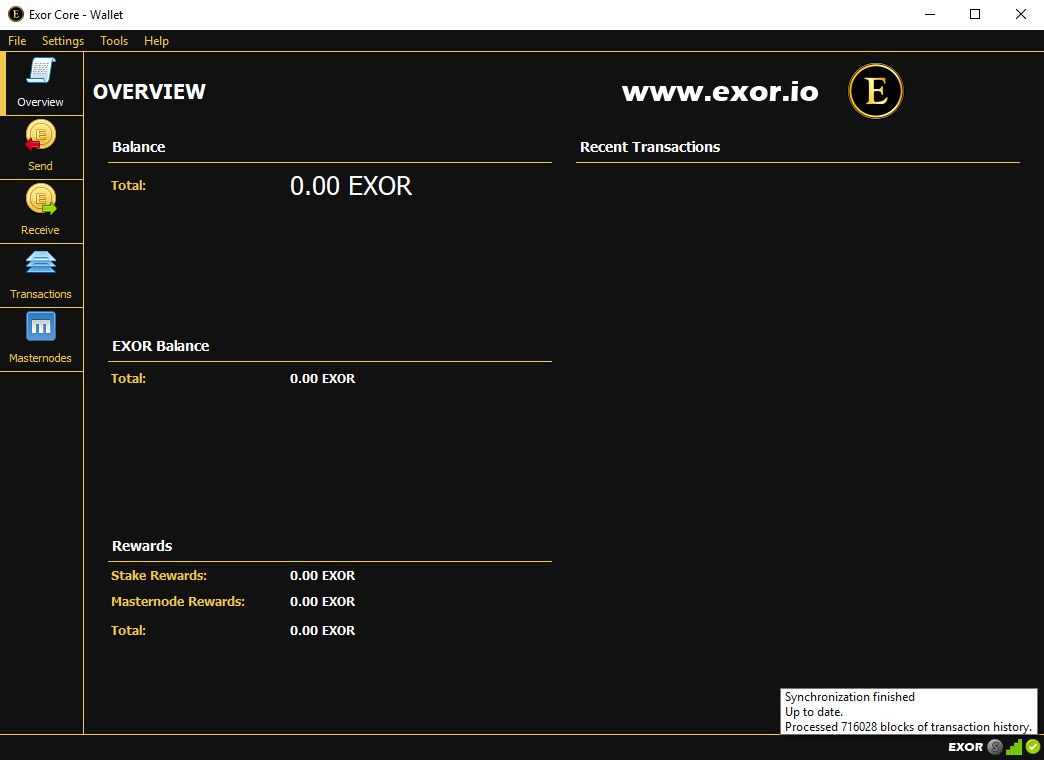
The main wallet will begin loading now. You must wait for the blockchain to fully sync before continuing. This step must only be completed once, but this can take more than 1 hour to complete so be patient while the blockchain synchronization is running.

-
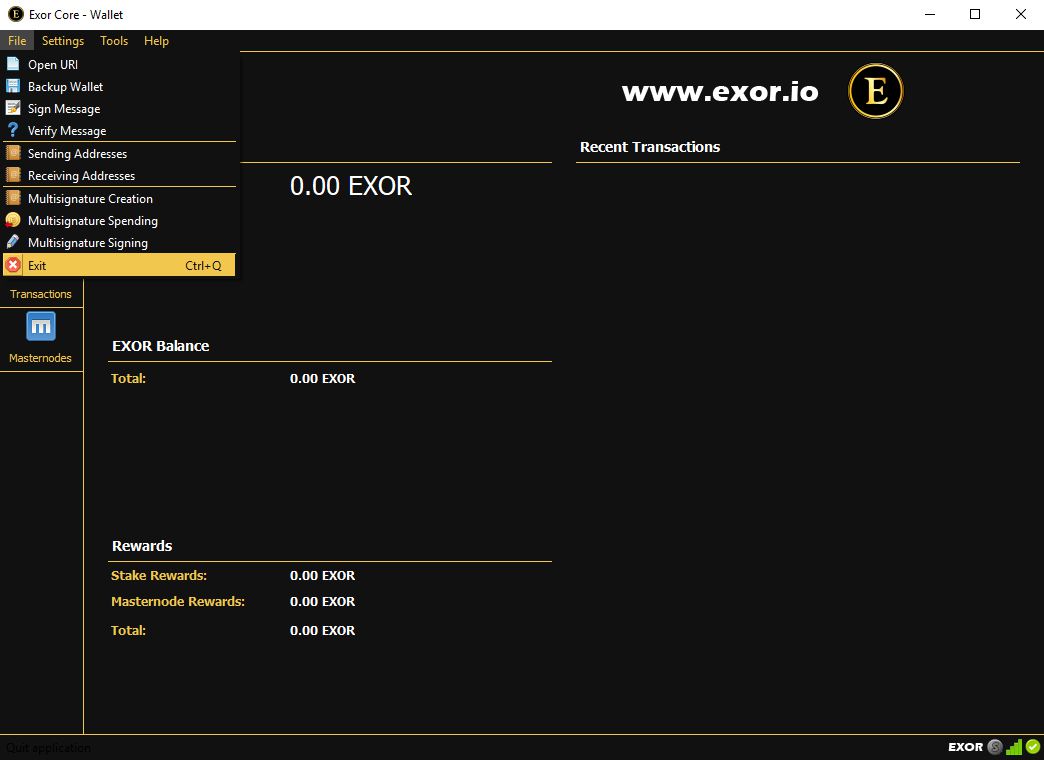
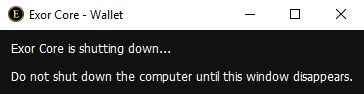
After the wallet has finished synchronizing, you must shut it down to complete the next steps. Click the File > Exit menu option, and wait for the wallet to completely close down before continuing.
-
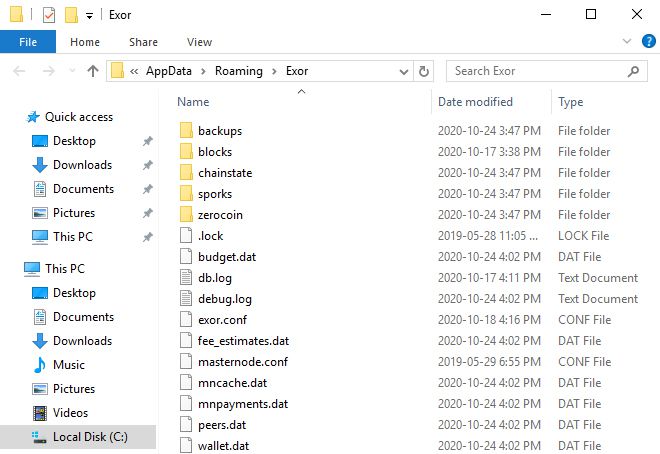
Now that the EXOR core wallet is no longer running, you need to open the wallet configuration file and make some changes. If you chose to install the wallet data files to a custom location, you can open the directory now. If you chose to install the wallet data files to the default location, you can open it by clicking the start menu at the bottom-left corner of the screen and typing this path into the search box: %appdata%/Exor. Press the Enter key on the keyboard when done to open the EXOR data directory.

-
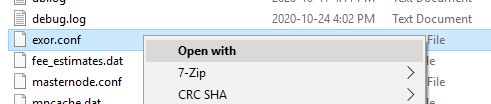
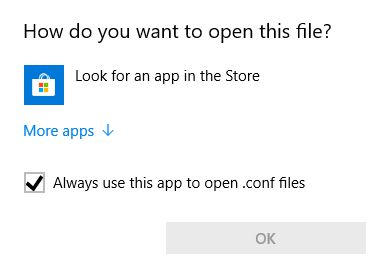
You need to open the exor.conf file for editing in your favorite text editor. There are many ways to do this, but for the purposes of this tutorial you can right-click on the exor.conf file and choose the Open with option. A new window will appear asking How do you want to open this file?. Click the More apps link option, and scroll down to find Notepad in the list of app options. Click the Notepad option to highlight it and then click the OK button and the file will open up in a notepad window.
NOTE: You can choose to either check or uncheck the Always use this app to open .conf files checkbox option. If you leave it checked then it will mean that you can simply double-click the exor.conf file next time to open instead of using the Open with option.

-
When you first open the exor.conf file it should be completely blank unless you made previous changes earlier. To enable RPC connections with the EXOR core wallet you must add the following lines to the exor.conf file:
- rpcuser=any_username_you_want
- rpcpassword=any_password_you_want
- server=1
Change the any_username_you_want part to any username that you want. Also change the any_password_you_want to any password that you want. You will need the rpcuser and rpcpassword values later in this tutorial, so be sure to write them down or save them in another location for quick access later. It is highly recommended to enter a strong password with many uppercase, lowercase, letters, numbers, and special characters to make it difficult for others to guess.
NOTE: There are a couple of optional settings that you may want to take advantage of as well:
- By default, the wallet will respond to RPC requests from any IP address. The rpcallowip option allows you to lock down the wallet so that it will only respond to RPC requests from IP addresses that you specify. This option is highly recommended for adding extra security on your wallet to prevent outside connection attempts from gaining access to your wallet. Typically you would want to only receive connection requests from the computer that the EXOR core wallet and Crypto Asset Manager are installed to, so you can add a line like this to your exor.conf file to prevent all outside RPC connections:
-
rpcallowip=127.0.0.1
NOTE: The 127.0.0.1 IP address is a special address that translates to the local computer. You could alternatively specify the actual internal IP address which you can find from the ipconfig command.
-
-
The rpcport option allows you to change the RPC port # that the EXOR core wallet is listening for RPC requests on. This can be useful in the event that you aren’t sure of what the default RPC listening port is for the wallet you are configuring, but it may not work for all wallets. In this case it works for the EXOR core wallet and the following sample line would change the default RPC port # from 51573 to 1234:
-
rpcport=1234
-
NOTE: For the purposes of this tutorial. The following rpcuser and rpcpassword values will be used as an example:- rpcuser=exorwallet
- rpcpassword=t4j5Oh8VeB!3i5hi#ga7k1onrY3NSwTAes39
Save and close the exor.conf file when you are finished editing.

-
Now that the EXOR Core wallet has been configured to respond to RPC requests, you can now open the wallet back up again by double-clicking the exor-qt.exe file and wait a minute or two for the wallet to finish loading.